Output Serilog To Cloudwatch
Nov 2nd, 2018 - written by Kimserey with .
Few weeks ago we saw How to configure Serilog to work with different environment. At the end of the post, we saw briefly how to get the structured logs synced to Cloudwatch. Today we will explore the configuration in more details.
Unified Cloudwatch Agent
The Unified Cloudwatch agent can be installed by following the official documentation https://docs.aws.amazon.com/AmazonCloudWatch/latest/logs/UseCloudWatchUnifiedAgent.html. There is a previous version of the Cloudwatch agent, this new version, introduced in December 2017, unifies the collection of metrics and logs for Cloudwatch under the same configuration.
To install the agent, execute the following commands:
1
2
3
4
5
mkdir ~/tmp
cd tmp
wget https://s3.amazonaws.com/amazoncloudwatch-agent/linux/amd64/latest/AmazonCloudWatchAgent.zip
unzip AmazonCloudWatchAgent.zip
sudo install.sh
This will install the agent in the /opt/aws/amazon-cloudwatch-agent/ folder. Once installed, we can configure the agent by creating a config.json file. Here is the official documentation of the configuration file https://docs.aws.amazon.com/AmazonCloudWatch/latest/monitoring/CloudWatch-Agent-Configuration-File-Details.html
We can either use the wizard which is present in the /opt/aws/amazon-cloudwatch-agent/bin folder or we can directly create the json file:
1
2
3
4
5
6
7
8
9
10
11
12
13
14
15
16
17
18
{
    "logs": {
        "logs_collected": {
            "files": {
                "collect_list": [
                    {
                        "file_path": "/var/log/myapp/*.json",
                        "log_group_name": "myapp/json",
                        "log_stream_name": "myapp",
                        "timezone": "UTC",
                        "timestamp_format": "%Y-%m-%dT%H:%M:%S"
                    }
                ]
            }
        },
        "log_stream_name": "default"
    }
}
This is the configuration we had in the previous post which we saved under /opt/aws/amazon-cloudwatch-agent/etc/config.json. Now to get the agent to pickup the new configuration, we need to run the following command:
1
sudo /opt/aws/amazon-cloudwatch-agent/bin/amazon-cloudwatch-agent-ctl -a fetch-config -m ec2 -c file:/opt/aws/amazon-cloudwatch-agent/etc/config.json -s
This command can also be used when the agent was stopped and we want to start it again. -a is used to specify the action, it can be start, stop, status or fetch-config. Here we want to fetch the config as it was changed. -m is used to specify the machine which the agent run on, ec2 or on premise.
This configuration reloading action will have as effect to modify the amazon-cloudwatch-agent.json and amazon-cloudwatch-agent.toml files which are the files used by the agent.
-a status can be used to ensure that the agent is actually running:
1
2
3
4
5
6
7
> sudo /opt/aws/amazon-cloudwatch-agent/bin/amazon-cloudwatch-agent-ctl -a status

{
  "status": "running",
  "starttime": "2018-06-26T09:27:41+00:00",
  "version": "1.201116.0"
}
To stop the agent, we can use -a stop, then start it again with -a start:
1
2
3
4
5
6
7
8
9
10
11
12
13
14
> sudo /opt/aws/amazon-cloudwatch-agent/bin/amazon-cloudwatch-agent-ctl -a stop
> sudo /opt/aws/amazon-cloudwatch-agent/bin/amazon-cloudwatch-agent-ctl -a status
{
  "status": "stopped",
  "starttime": "",
  "version": "1.201116.0"
}
> sudo /opt/aws/amazon-cloudwatch-agent/bin/amazon-cloudwatch-agent-ctl -a start
> sudo /opt/aws/amazon-cloudwatch-agent/bin/amazon-cloudwatch-agent-ctl -a status
{
  "status": "running",
  "starttime": "2018-06-26T09:42:45+00:00",
  "version": "1.201116.0"
}
Literate and Structured Logs
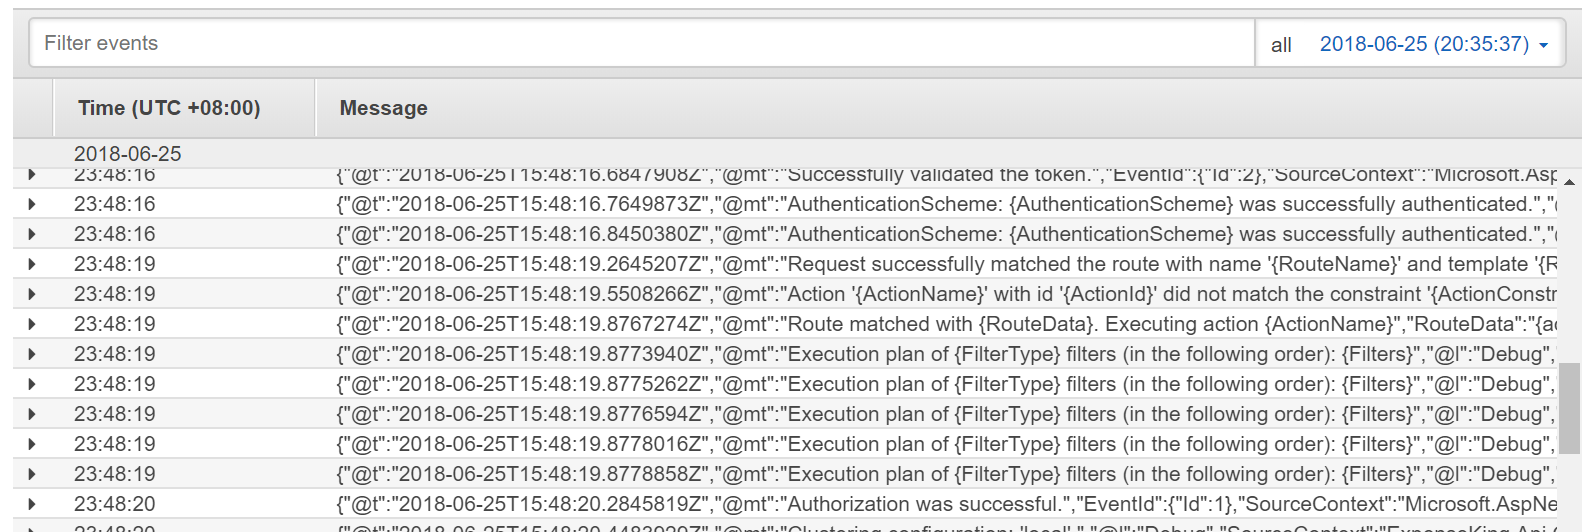
With the configuration of our logger in json format which we created in the last post, we can utilise filters to build more powerful queries than with a fulltext search. But the drawback is that the logs became less readable.
What we can do to have more readible logs is to create a new log group which will contain plain text logs. We do that by first adding a second file sink without specifying any formatter. We also define our own template as extra.
1
2
3
4
5
6
7
8
9
10
{
    "Name": "File",
    "Args": {
        "path": "/var/log/myapp/myapp.log",
        "fileSizeLimitBytes": 10485760,
        "outputTemplate": "[{Timestamp:u} {Level:u3}] {SourceContext}: {Message:lj} {NewLine}{Properties}{NewLine}{Exception}",
        "rollOnFileSizeLimit": true,
        "retainedFileCountLimit": 3
    }
}
:u will format the timestamp as UTC. It is needed for Cloudwatch to recognize the date and time. If we dont set the template, it will consider it as UTC time as we set previously UTC in the config.json. This will save the following logs in a file at the path specified.
1
2
3
4
5
6
[2018-06-26 10:09:23Z INF] Microsoft.AspNetCore.Hosting.Internal.WebHost: Request finished in 504.561ms 200
{ ElapsedMilliseconds: 504.561, StatusCode: 200, ContentType: null, EventId: { Id: 2 }, RequestId: "0HLER9JH460UL:00000001", RequestPath: "/", CorrelationId: null, ConnectionId: "0HLER9JH460UL", MachineName: "KIM" }
[2018-06-26 10:09:24Z INF] Microsoft.AspNetCore.Hosting.Internal.WebHost: Request starting HTTP/1.1 GET http://localhost:5000/favicon.ico
{ Protocol: "HTTP/1.1", Method: "GET", ContentType: null, ContentLength: null, Scheme: "http", Host: "localhost:5000", PathBase: "", Path: "/favicon.ico", QueryString: "", EventId: { Id: 1 }, RequestId: "0HLER9JH460UL:00000002", RequestPath: "/favicon.ico", CorrelationId: null, ConnectionId: "0HLER9JH460UL", MachineName: "KIM" }
[2018-06-26 10:09:24Z INF] Microsoft.AspNetCore.Hosting.Internal.WebHost: Request finished in 31.8269ms 200
{ ElapsedMilliseconds: 31.8269, StatusCode: 200, ContentType: null, EventId: { Id: 2 }, RequestId: "0HLER9JH460UL:00000002", RequestPath: "/favicon.ico", CorrelationId: null, ConnectionId: "0HLER9JH460UL", MachineName: "KIM" }
Those are the plain text logs. Note that the json object is the {Properties} token.
We can then configure the Cloudwatch agent to get that log file synced by adding it to the collection_list:
1
2
3
4
5
6
7
8
9
10
11
12
13
14
15
16
17
18
19
20
21
22
23
24
25
26
{
    "logs": {
        "logs_collected": {
            "files": {
                "collect_list": [
                    {
                        "file_path": "/var/log/myapp/*.json",
                        "log_group_name": "myapp/json",
                        "log_stream_name": "myapp",
                        "timezone": "UTC",
                        "timestamp_format": "%Y-%m-%dT%H:%M:%S"
                    },
                    {
                        "file_path": "/var/log/myapp/*.log",
                        "log_group_name": "myapp/literate",
                        "log_stream_name": "myapp",
                        "multi_line_start_pattern": "^\\[\\d{4}-\\d{2}-\\d{2}\\s\\d{2}\\:\\d{2}\\:\\d{2}Z",
                        "timezone": "UTC",
                        "timestamp_format": "%Y-%m-%d %H:%M:%S"
                    }
                ]
            }
        },
        "log_stream_name": "default"
    }
}
The first difference is that the timestamp format is different. For json it is by default UTC in ISO datetime format while for templating, :u provides the datetime as a different format which we need to accomodate to by adding a space between the date and the time in the timestamp_format.
Now we saw that the properties were prefix with a newline, specified with the {NewLine} token. By default, Cloudwatch will consider every non empty newlines as a new log entry therefore here, even though the properties are part of the same log entry, it will be considered as a new log entry. To fix it, we can use the multi_line_start_pattern property and pass to it a regex which delimites each log entries. In our case, the datetime is logged as so 2018-06-26 10:09:23Z so we can use the format %Y-%m-%d %H:%M:%S. Once we have changed the configuration, we can load back the configuration on the agent.
1
sudo /opt/aws/amazon-cloudwatch-agent/bin/amazon-cloudwatch-agent-ctl -a fetch-config -m ec2 -c file:/opt/aws/amazon-cloudwatch-agent/etc/config.json -s
Debug Cloudwatch agent
If logs are written properly, we can check the agent logs which can be found the file amazon-cloudwatch-agent.log under /opt/aws/amazon-cloudwatch-agent/logs.
In the log we can find errors under E!. For example the following error:
1
2018-06-16T11:19:19Z E! cloudwatchlogs: the log entry timestamp (2018-09-14 11:18:26 +0000 UTC) comparing to the current time (2018-06-16 11:19:19.893710933 +0000 UTC) is older than 14 days or more than 2 hours in the future. Discard the log entry.
This error was due to the fact that the timestamp on my logs were written as +0800 (Singapore time) but Cloudwatch was reading it as UTC as I configured the config as "timezone": "UTC". So looking into the amazon-cloudwatch-agent.log will allow to fix problem related to syncing logs from the file to Cloudwatch.
Conclusion
Today we saw how we could install the unified Cloudwatch agent and how to configure it. We saw the different functionalities of the agent and how we could check it’s current state. We looked at how we could sync plain text logs and how to fix some of the issues related to plain text like the handling of multilines and writing logs as UTC time. Lastly we finished by looking at an example of problem which was found in the log file of the agent itself. Hope you liked this post, see you next time!